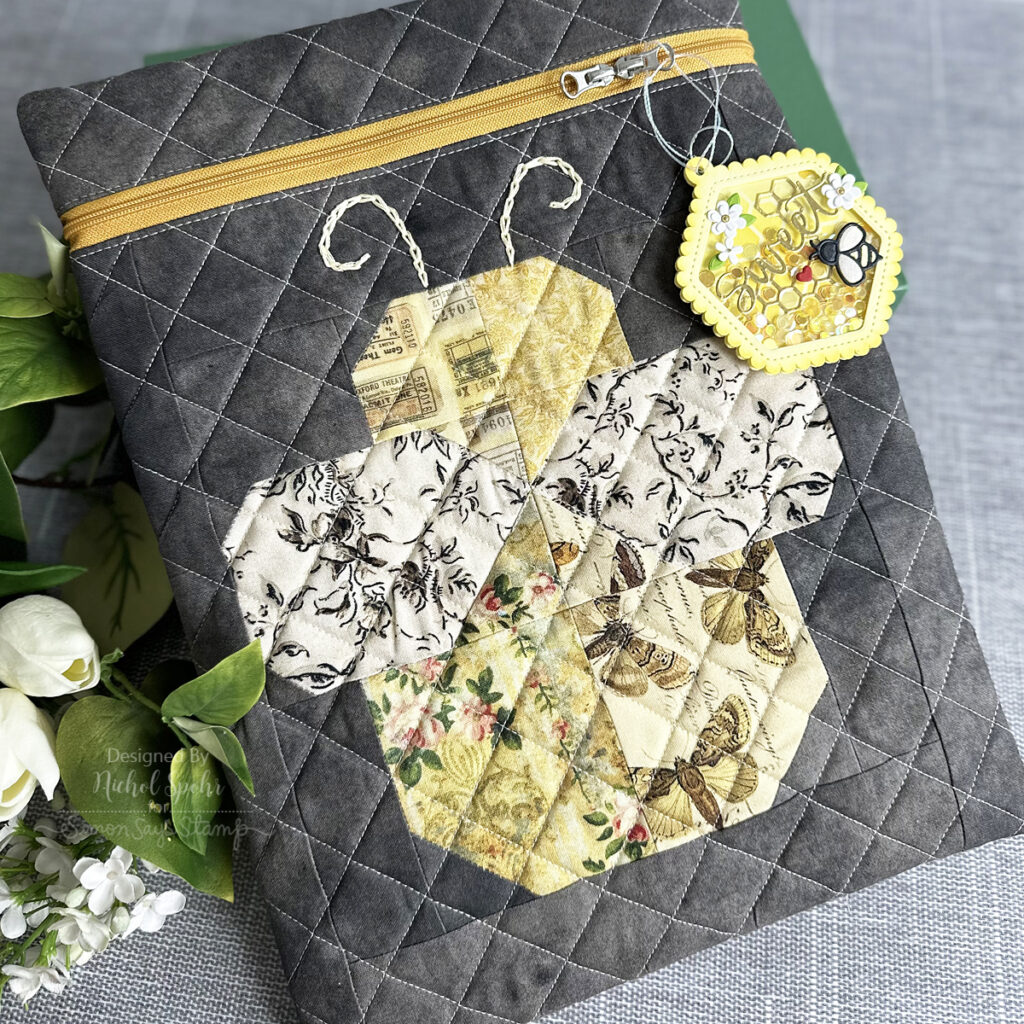
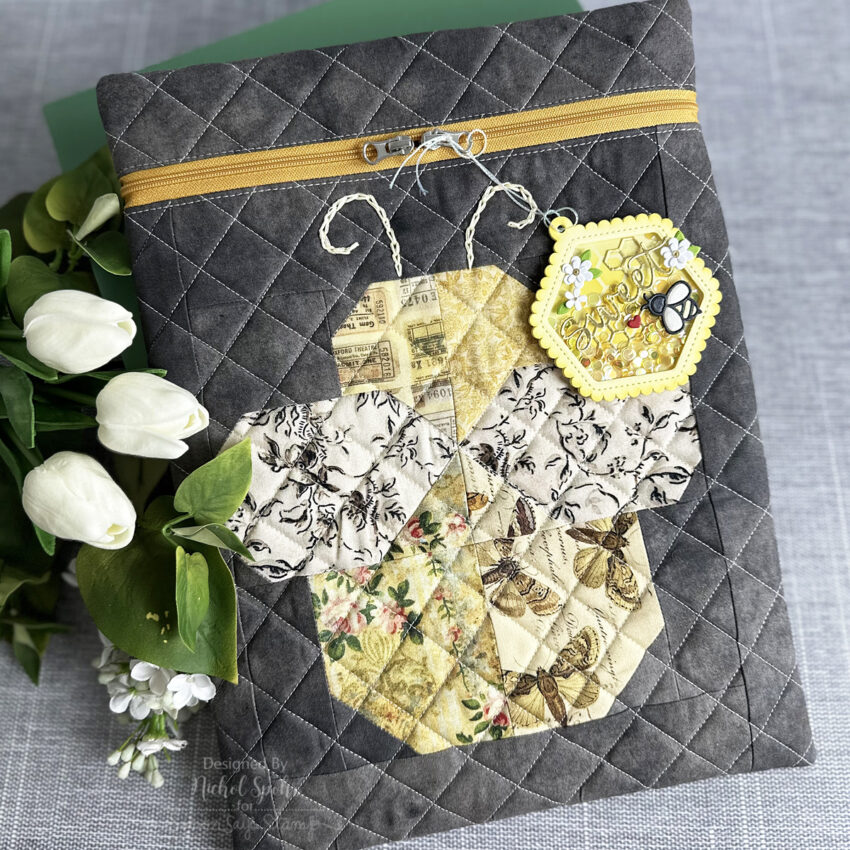
Did you know you can pick up Tim Holtz fabrics at Simon Says Stamp? You can purchase yardage or fat quarter bundles in Tim’s awesome fabrics! I created this bee project bag, perfect for housing your works in progress, card kit supplies, and more! Keep on reading for the full details on how I took this free bee quilt block pattern and turned it into a project bag.


Bee Project Bag
Finished Size: 10 1/2” x 14″
Shop the Tim Holtz fabrics at Simon Says Stamp HERE.
|
Materials Needed:
- FREE Bee Pattern Download HERE.
- 4 Fat Quarters from the Tim Holtz Fabric Palette Yellow Bundle
- Neutral Fat Quarter (for bee wings) from the Tim Holtz Palette Neutral Bundle
- Tim Holtz Eclectic Elements Fabric in Onyx
- White or beige neutral fabric for inside lining of bag
- Soft & Stable Foam Stabilizer
- 12” or longer zipper
- Coordinating Thread
- Sewing machine with a walking foot
- Needle & Embroidery Floss
- Optional: iron on label, spray starch
Instructions
Prepare Fabric:
Spray all fabric with spray starch and allow to hang dry. (I like to starch my fabric for increased piecing precision).
Cut Yellow Bundle, Neutral Bundle, and Onyx fabric according to Bee Block instructions.
Cut Onyx Fabric:
- 2 – 2” x 12” Onyx fabric strips (for sides of block)
- 1 – 2 1/2” x 12” Onyx fabric strip (above zipper)
- 1 – 12” x 15” Onyx fabric (for back of back)
Cut Lining Fabric:
- 2 – 12” x 15” lining fabric
Stabilizer:
- Cut 2 Soft & Stable pieces to 12” x 15”.
Sewing:
Piece the bee block according to the pattern instructions.
Sew one 2” x 12” Onyx strip to the left side of the block and sew the second strip to the right side. (They may be slightly longer than the block. That is on purpose. Square up the top of the block and then sew the 2 1/2” x 12” strip to the top. This, too, will be a little longer than the block. You can square up now if desired or wait until quilting is finished.
Quilting
Layer the quilt block on top one of the 12” x 15” Soft & Stable pieces and finish with a lining piece. The soft & stable will be in between the front and front lining of bag. Quilt as desired. I quilted a cross hatch pattern 1” apart.
Once quilted I trimmed the bag to measure 11” wide. I trimmed a 2 1/2” strip from the top of the bag. (Don’t trim the rest of the bag yet.)
For the back of the bag, layer the 12” x 15” Onyx fabric, Soft & Stable, and other lining panel the same as for the front. Quilt as desired.
Attach zipper:
Attach the zipper to the bottom front panel by stitching right sides together.
Fold the zipper/panel down and top stitch close to the seam to help hold the zipper down and give a nice finished look.
Attach the zipper to the top of the panel in the same way.
Make sure your zipper pull/pulls are in the center of the bag and trim down the bag front so that it measures approximately 11” x 14 1/2”. Your bag might be slighly smaller/larger based on quilting.
Finishing:
Measure the front of your bag once the zipper is attached. Mine measured 11” x 14 1/2”.
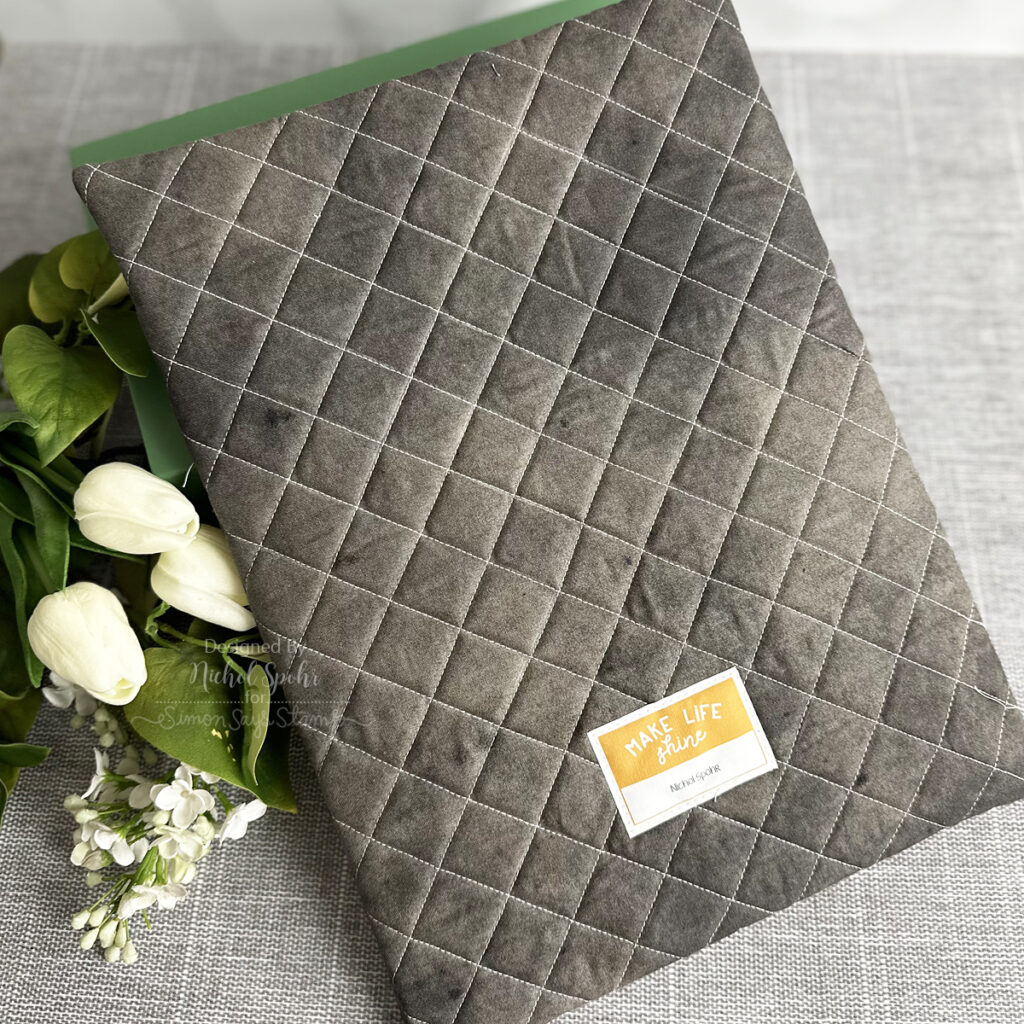
Trim the background to the same size. Add label. (Now is a good time to add a label to the back or a woven label to the seam allowance if using.)
Place the panels right sides together and sew around the bag. Make sure and leave the zipper open a bit so that you can turn the bag right side out.
Serge or zigzag stitch the seams and turn bag right side out. Give it a good press and adorn with a cute Honeycomb Shaker Tag!


Oh gosh! This is Bee-utiful!!!
Love this project bag!!
You make the cutest things and we are so blessed that you share with us!!!
💛🐝 Thank you!!!
Thanks so much for sharing this with us!! I love it.
I love Bee projects. Thank you for sharing this. It’s adorable and I’m excited to get started. You got me started on making project bags. Love all your ideas.
worked on the bee today. Plan on making the bag for my Bee cross stitch.